Configuring the Repository
From the Dashboard, Administrators have several Configuration options.
Settings: Appearance
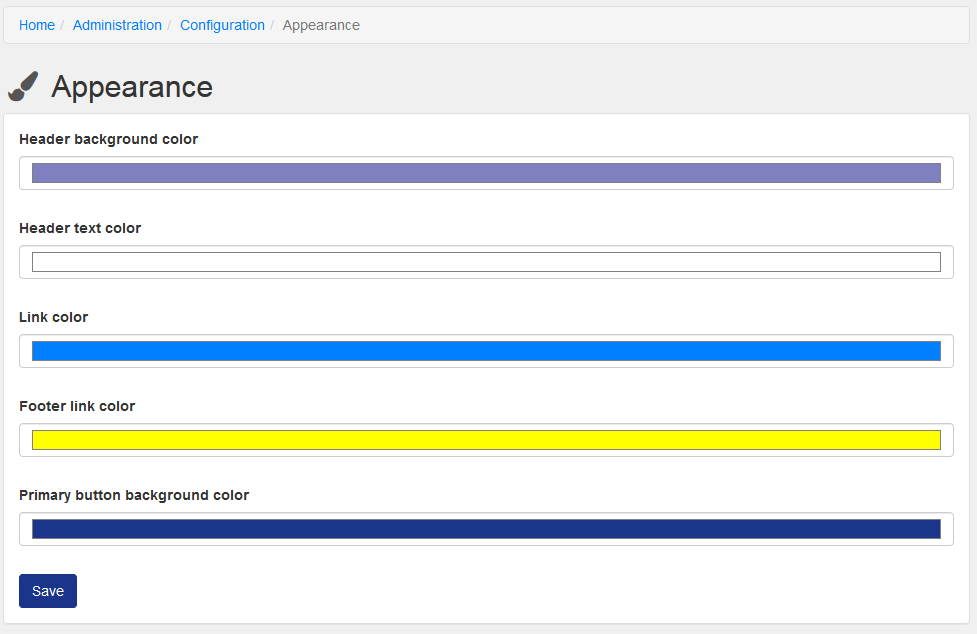
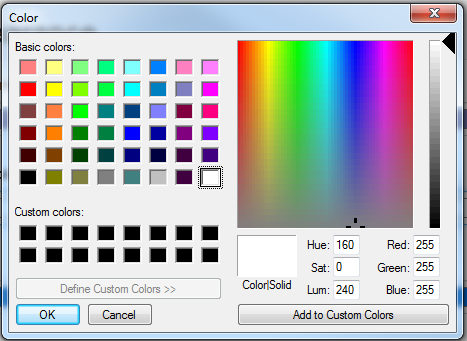
Administrators can change the general colors of the repository’s appearance. This includes the Header background color, Header text color, Link color, Footer link color, and Primary button background color. Click on the color bar for any of the elements you’d like to edit and use the color palette to make adjustments:
Click Save to make the changes.
Settings: Pages
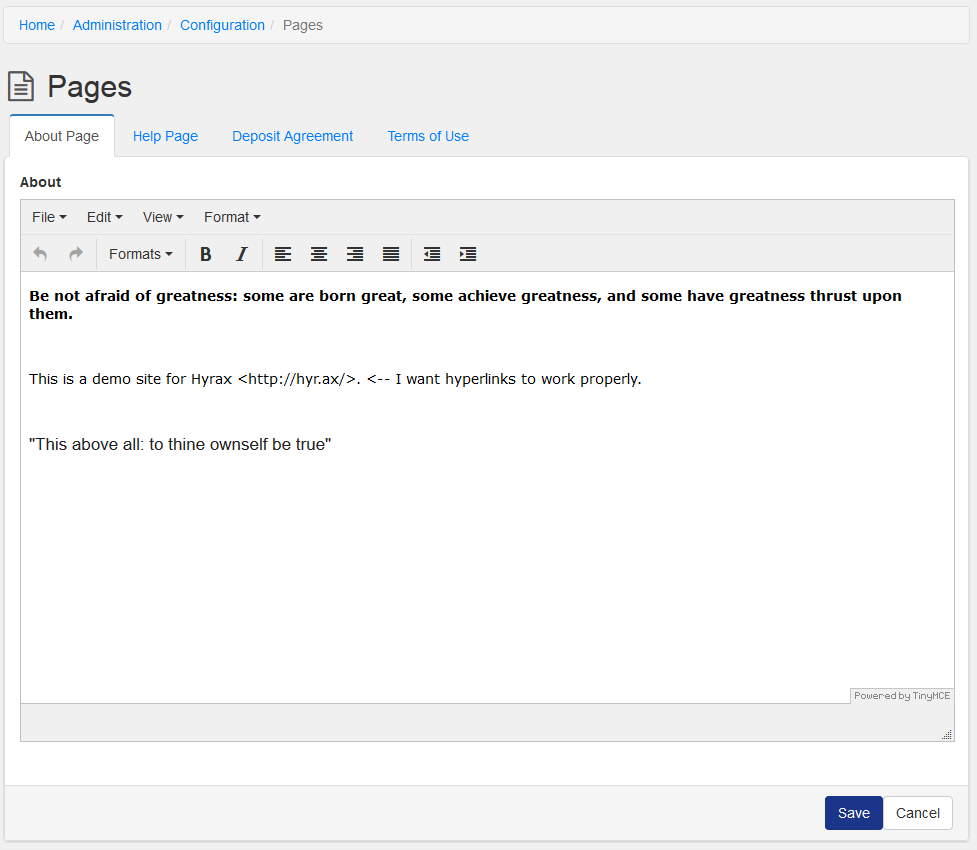
The Pages panel allows administrators to edit the About Page, Help Page, Deposit Agreement, and Terms of Use. These are static pages in the repository. This is not quite a WYSIWYG editor. The text will conform to the CSS styles used by your repository. Tip: to add hyperlinks, create the links in a rich text editor, like Microsoft Word, and paste the link into the Pages text box. There is currently no way to create a link directly in the text editor.
Settings: Content Blocks
Similar to Pages, Content blocks are editable text elements for the homepage. You can add an Announcement, Marketing Text, or a note about a Featured Researcher using these blocks. The same limitations to text editing as noted in the Pages section apply here.
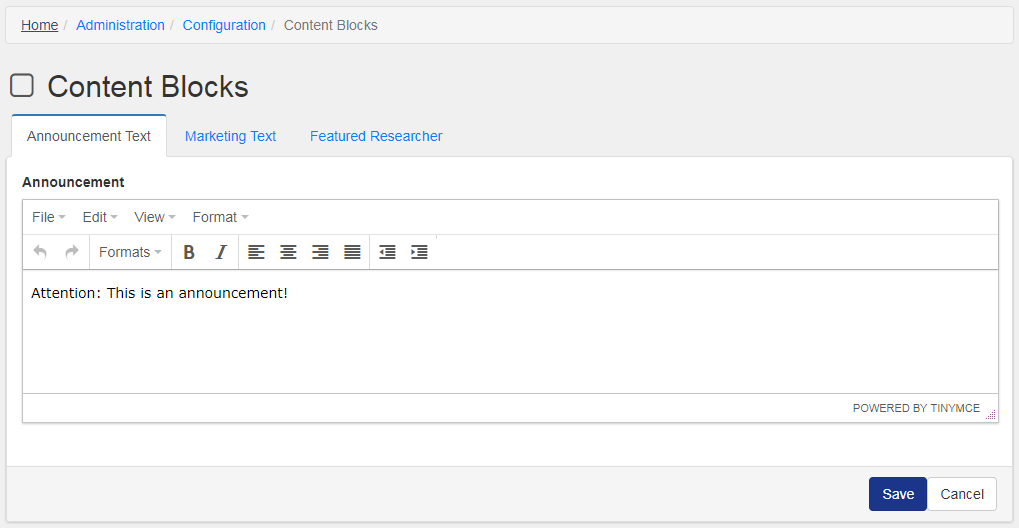
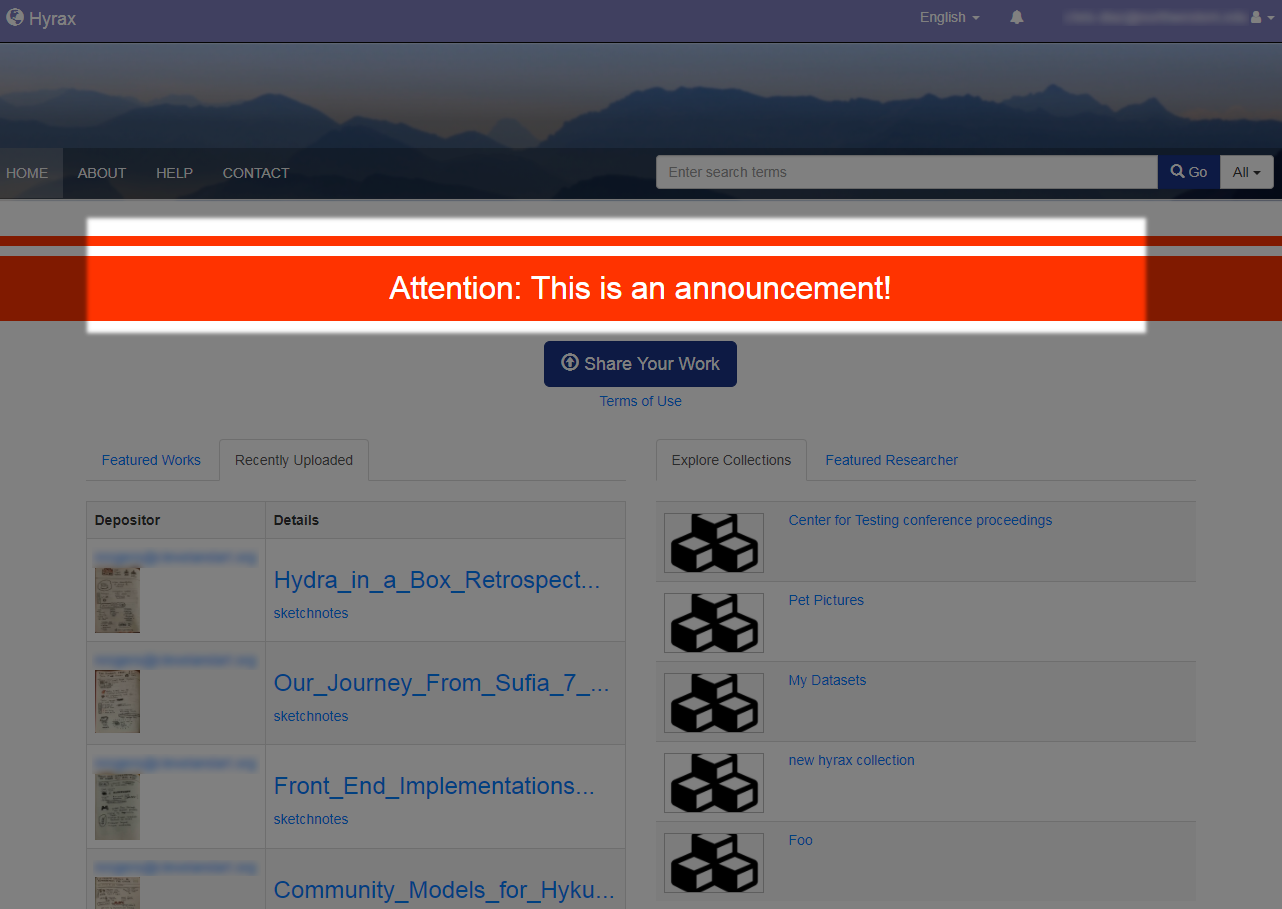
The Announcement Text is useful for notifying end-users about any scheduled downtime or repository maintenance. It corresponds to:
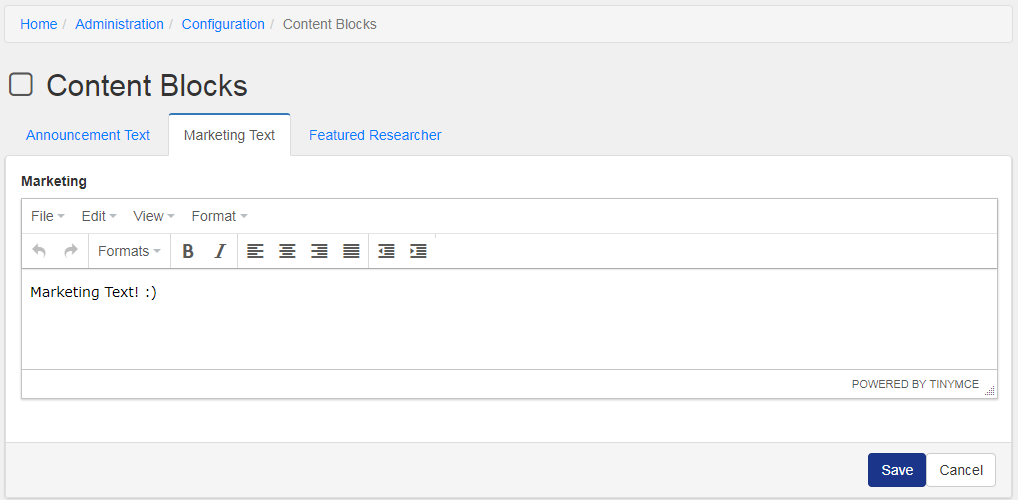
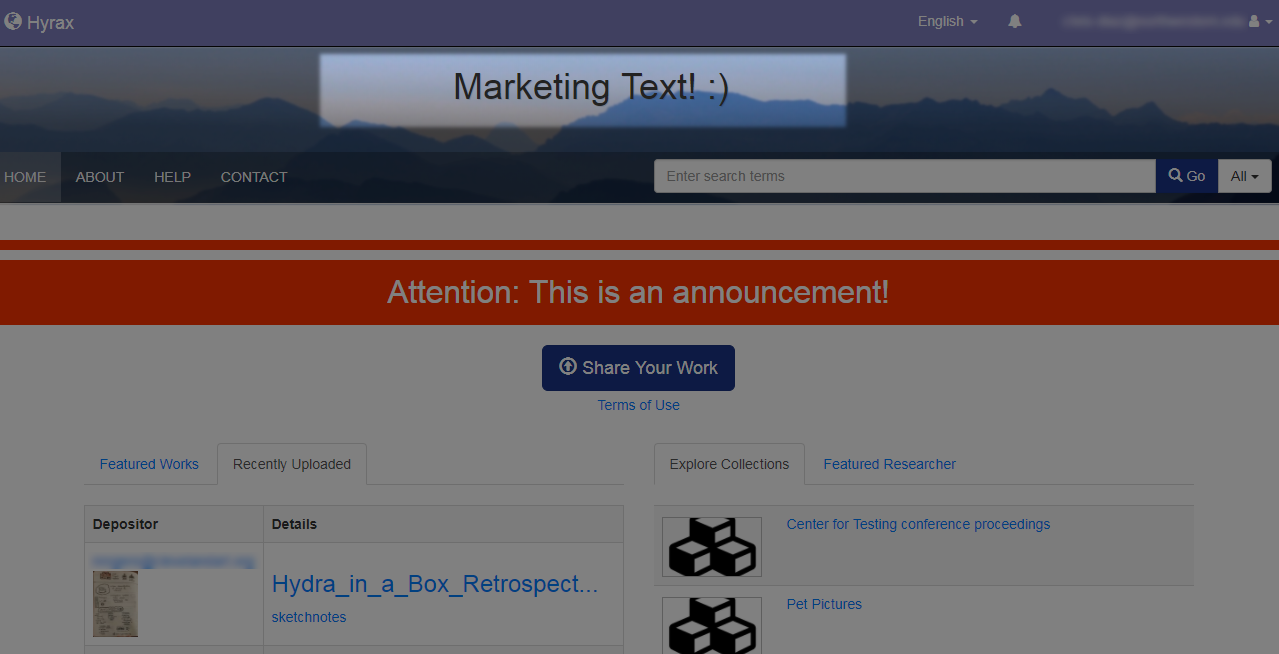
The Marketing Text is a good place to add a tagline for your repository. It corresponds to:
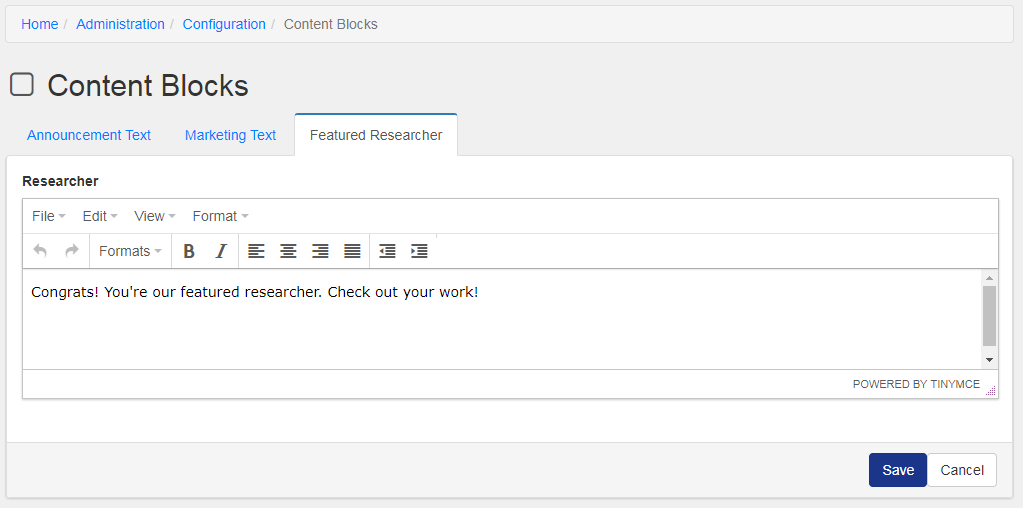
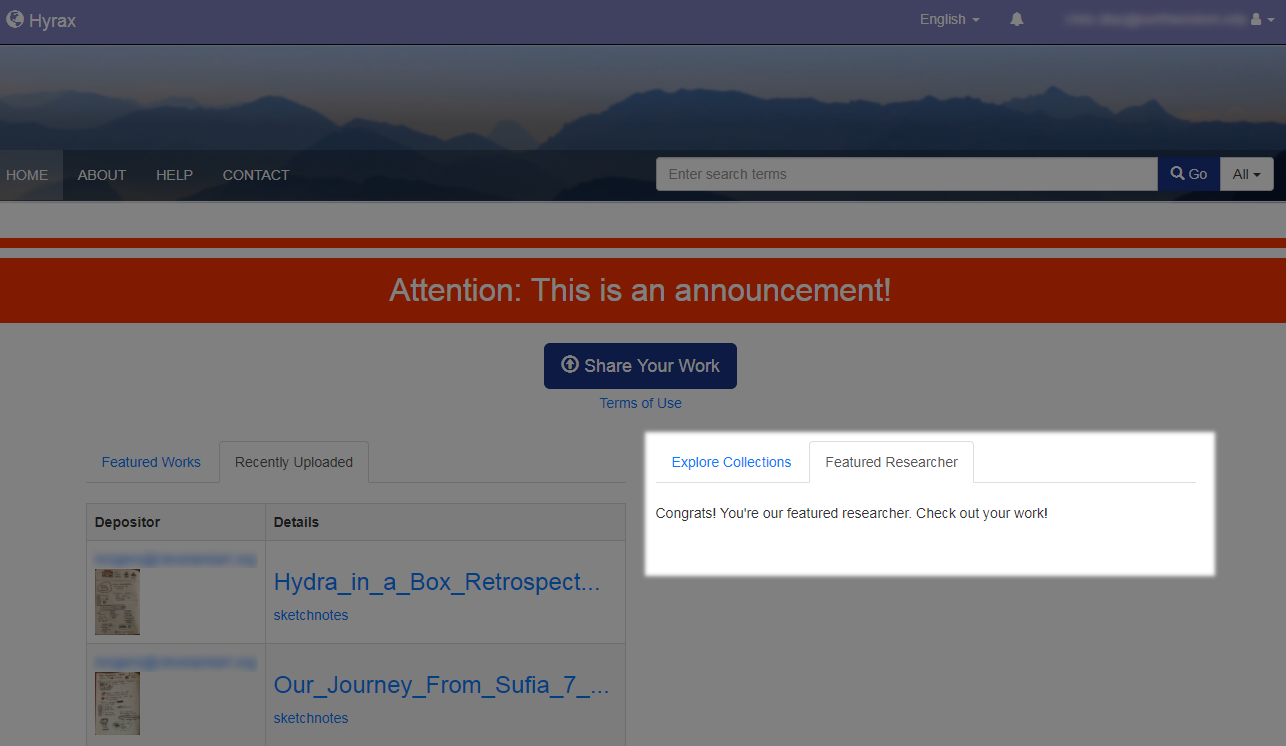
The Featured Researcher content block allows you to add a note about any researcher you choose to highlight on the homepage of your repository.
Settings: Features
There are several features that are automatically enabled in Hyrax, but these can be toggled on and off from the Features panel:
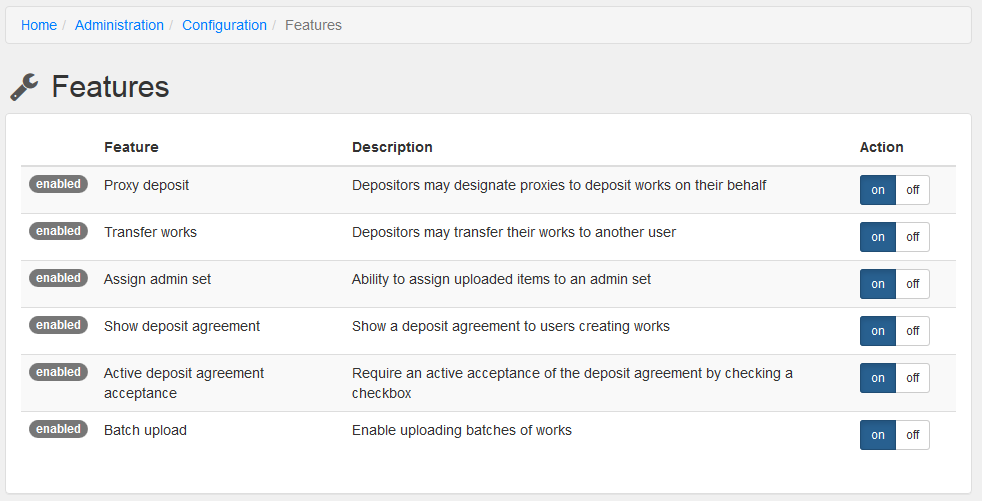
The highlighted option in the Actions column signifies the current selection. Click on the Off option for any feature you wish to disable for your repository. Here is a complete list of features in Hyrax.
Workflow Roles
The Workflow Roles panel will allow repository administrators to search for any registered user in the repository and assign them a role in an Administrative Set workflow. From the page, you can Assign Roles or view Current Roles.
Assign Roles
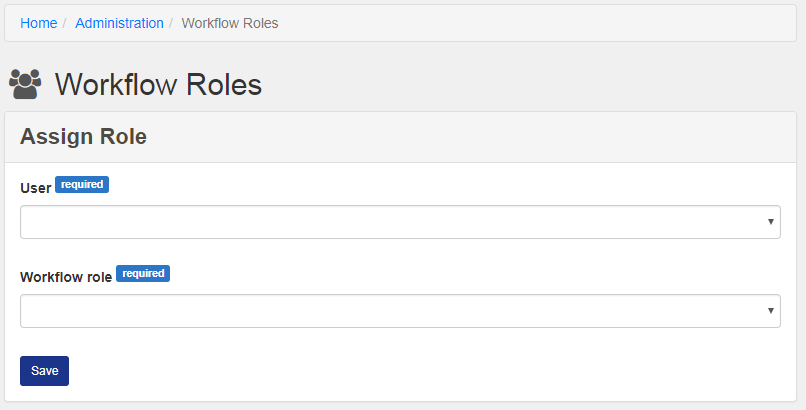
The Assign Role box presents a drop-down menu for every user in the repository. First, select the user, then, select the Administrative Set from the Workflow Role drop-down menu. The Workflow Role menu will give you these role options for every Administrative Set: Approving, Depositing, or Managing.
Current Roles
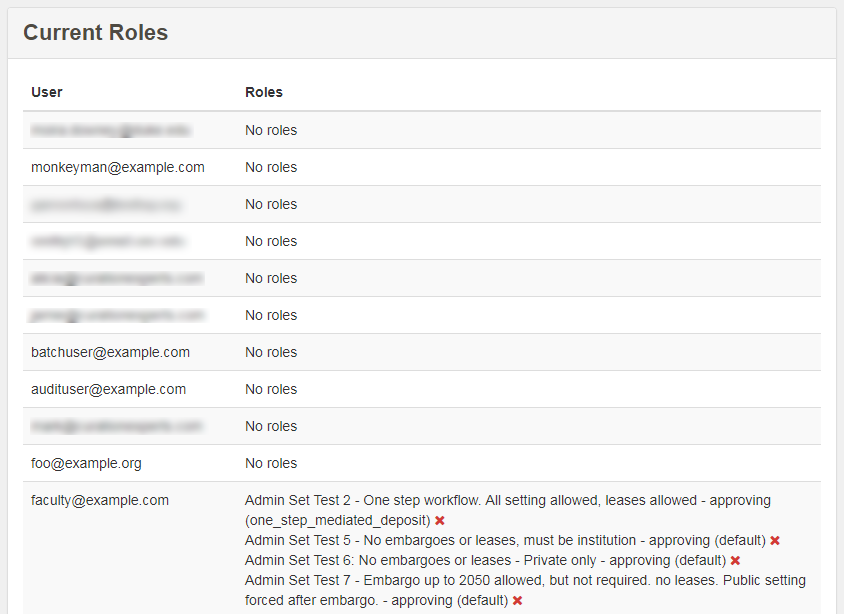
The Current Roles table displays all users of the repository and their roles. When a user has a Workflow Role that needs to be removed, you can click on the red X next to the role. You will be asked to confirm your choice to edit a user’s Workflow Role before the action can be completed.
